


You must have heard of Dialog box in the technical world, right? It is simply an additional layer of UI that takes user input to help to make some decisions before the execution of any program and then disappears. First of all a big thanks to you for checking this article and I am guessing you must be interested in developing Android Apps or Kotlin. I would definitely love to connect with you on Twitter - twitter.com/lazy_doer and let's share our learnings with each other.
Now let's get back to topic.
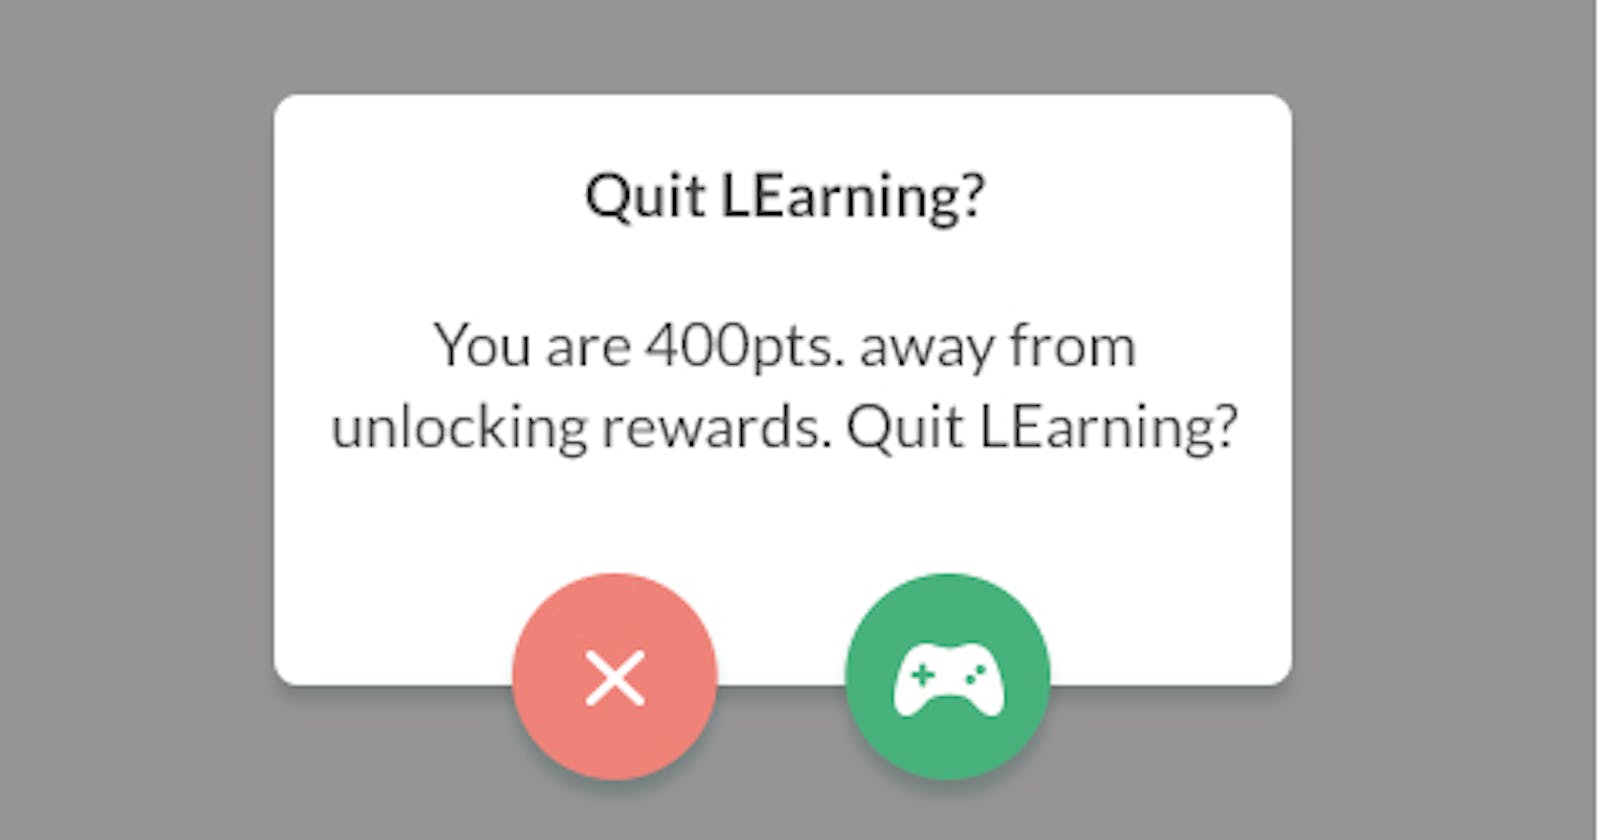
You have seen such images using apps in our daily lives. Before proceeding ahead I have found all these images on Google so credits to them for images.
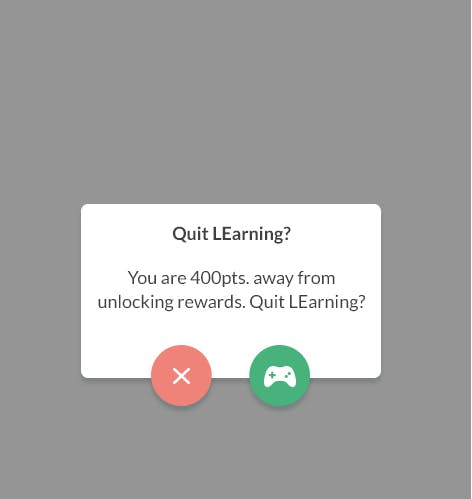
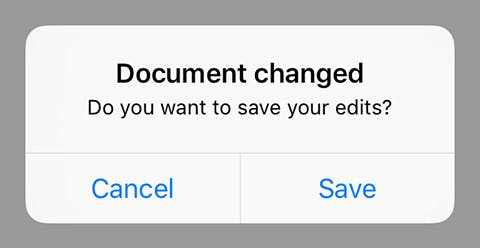
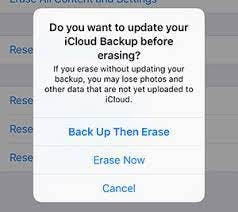
You all must have encountered these dialogs maybe before leaving any screen from the app, maybe confirmation before logging out, it might appear before uploading or choosing an image from the app. I hope you have started noticing all types of dialog boxes encountered, in your mind.
So now let's move on to how to implement showing these dialog boxes programmatically in an Android App. Let me show you the image of what we are going to build afterward in this article. This image is mine ;)
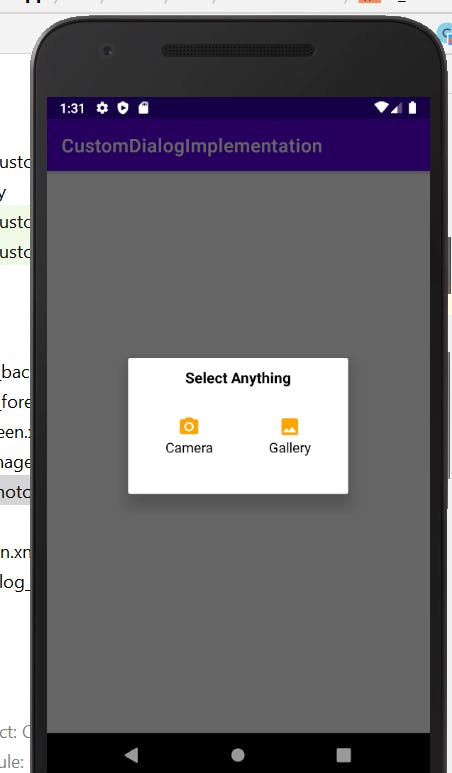 You can see there is a dialog box asking for the options to choose the way we want to take the image. Let's build it.
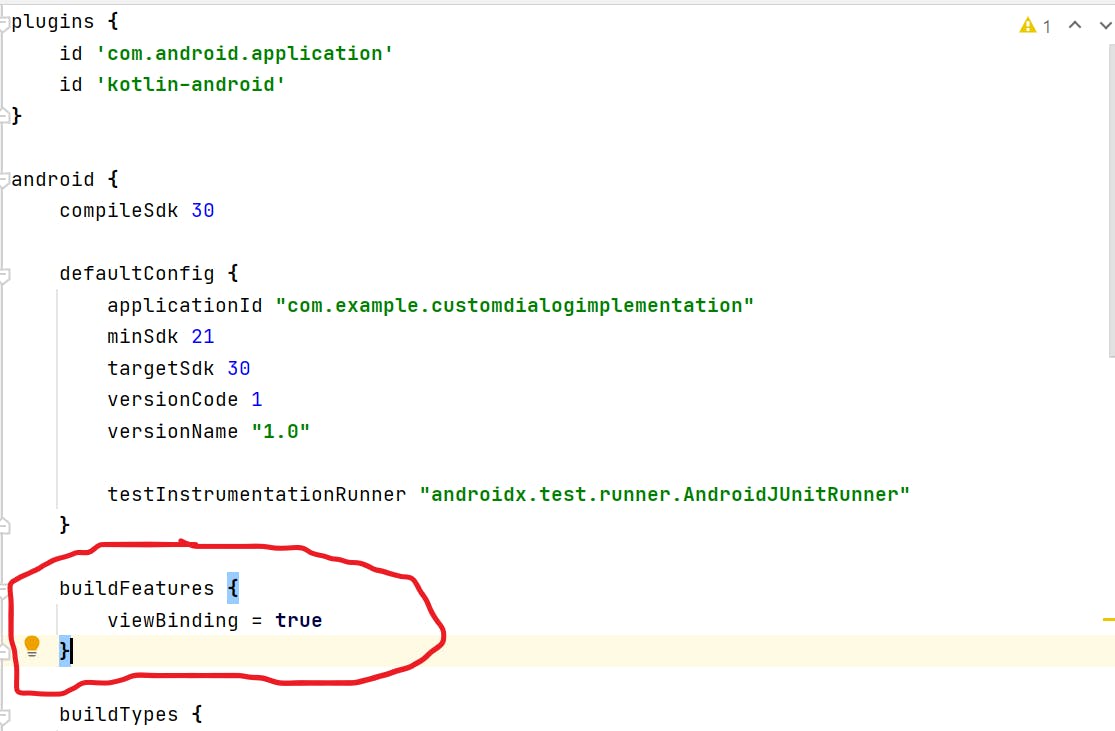
Create a New Project in Android Studio and wait for the Gradle build to finish. We are going to use Kotlin as our primary language to implement functionalities. First and foremost thing you need to do is to add implementation for ' View Binding ' in our module app Gradle. We are using ViewBinding just to ensure the best practices of Android Development. ViewBinding actually generates a class for each layout present in our project. We need to initialize it into the Activity to bind the layout views into the Activity. Our objective could have been met by simply using ' findViewById ' or using Android ' Kotlin Extensions '. You can add implementations for ViewBinding in the Gradle app module using this code:
android {
    ...
    buildFeatures {
        viewBinding = true
    }
}
You can see in the image how I added implementation:
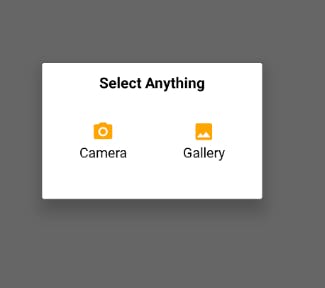
Okay, we have done all setup and now it's time to move on to the implementation of our objective. To implement Custom Dialog we will be needing a custom layout to portray how it would look like. To show anything we need to define how it should be shown and that's what exactly we will do here. We will define the layout for Custom Dialog. In this case, we want to show this dialog layout to users:
First, try to build this on your own, and then if needed look at the code below:
<?xml version="1.0" encoding="utf-8"?>
<androidx.constraintlayout.widget.ConstraintLayout xmlns:android="http://schemas.android.com/apk/res/android"
    android:layout_width="match_parent"
    android:layout_height="wrap_content"
    xmlns:app="http://schemas.android.com/apk/res-auto"
    android:orientation="vertical"
    android:padding="10dp"
    app:chainUseRtl="true">

    <TextView
        android:id="@+id/tv_title"
        android:layout_width="match_parent"
        android:layout_height="wrap_content"
        android:text="Select Anything"
        android:textColor="@color/black"
        android:textSize="16sp"
        android:textStyle="bold"
        app:layout_constraintBottom_toTopOf="@id/tv_camera"
        app:layout_constraintLeft_toLeftOf="parent"
        app:layout_constraintRight_toRightOf="parent"
        app:layout_constraintTop_toTopOf="parent" />

    <TextView
        android:id="@+id/tv_camera"
        android:layout_width="wrap_content"
        android:layout_height="wrap_content"
        android:layout_margin="30dp"
        android:foreground="?attr/selectableItemBackgroundBorderless"
        android:gravity="center"
        android:text="Camera"
        android:textColor="@color/black"
        android:textSize="15sp"
        app:drawableTopCompat="@drawable/ic_vector_photo_camera"
        app:layout_constraintBottom_toBottomOf="parent"
        app:layout_constraintHorizontal_chainStyle="spread"
        app:layout_constraintLeft_toLeftOf="parent"
        app:layout_constraintRight_toLeftOf="@id/tv_gallery"
        app:layout_constraintTop_toBottomOf="@id/tv_title" />

    <TextView
        android:id="@+id/tv_gallery"
        android:layout_width="wrap_content"
        android:layout_height="wrap_content"
        android:layout_margin="30dp"
        android:foreground="?attr/selectableItemBackgroundBorderless"
        android:gravity="center"
        android:text="Gallery"
        android:textColor="@color/black"
        android:textSize="15sp"
        app:drawableTopCompat="@drawable/ic_vector_image_gallery"
        app:layout_constraintBottom_toBottomOf="parent"
        app:layout_constraintHorizontal_chainStyle="spread"
        app:layout_constraintLeft_toRightOf="@id/tv_camera"
        app:layout_constraintRight_toRightOf="parent"
        app:layout_constraintTop_toBottomOf="@id/tv_title" />

</androidx.constraintlayout.widget.ConstraintLayout>
So we have decided how our Dialog Box will look like. Next thing we need to decide is when to show this Dialog? Because as I said earlier Dialog Box in Android is used for a very short time just to receive some necessary input from the user and then it disappears and the program goes on as usual. In this case, we are using a Button on Main Activity and when the user taps on the button we want to inflate our Custom Dialog Box. So, just create a Button on Main Activity so that we can demonstrate our Dialog. So let's prepare our Main Activity having a Button.
<?xml version="1.0" encoding="utf-8"?>
<LinearLayout xmlns:android="http://schemas.android.com/apk/res/android"
    xmlns:app="http://schemas.android.com/apk/res-auto"
    xmlns:tools="http://schemas.android.com/tools"
    android:layout_width="match_parent"
    android:layout_height="match_parent"
    android:orientation="vertical"
    android:gravity="center"
    tools:context=".MainActivity"
    >
    <Button
        android:id="@+id/view_main"
        android:layout_width="wrap_content"
        android:layout_height="wrap_content"
        android:layout_margin="30dp"
        android:gravity="center"
        android:text="Choose Image"
        android:textColor="@color/white"
        android:textSize="15sp"
         />
</LinearLayout>
So we have created two layouts one for our Main Activity that our Android users will see first and foremost by opening our App and the other is our Dialog Box layout that users will see if Button is clicked on Main Activity. Now let's bring ViewBinding into the picture of our application. We have discussed that ViewBinding generates a Class for each layout and we initiate the generated class in the Activity to inflate the layout and bind its views to the activity. So now you can understand we need to initiate our Activity Main Layout binding in Main Activity. Let's do this. You can arrange your Main Activity like this:
class MainActivity : AppCompatActivity() {
    override fun onCreate(savedInstanceState: Bundle?) {
        super.onCreate(savedInstanceState)

        var binding:ActivityMainBinding = ActivityMainBinding.inflate(layoutInflater)
        setContentView(binding.root)
We have inflated our layout in MainActivity using View Binding. Now we can use all views from the attached layout using the ' binding ' variable because it's the instance ActivityMainBinding class which is generated class of our ' activity_main ' layout.
So now, next step we need to add a click listener on our button to show Dialog Box to our Android users. Let's see how we can use our views using binding and attach listener on it:
 binding.viewMain.setOnClickListener {


       }
Here ' viewMain ' is the generated Id of our Button View which has an id of ' view_main '. This is the way ViewBinding will convert your original id and generate its id.
Now once the button is clicked then WHAT? Yes, this is the time when we are going to accomplish what we are waiting for. We will now implement our Custom Dialog Box. It's simple! We have Dialog class provided by Android itself. We just need to call it and achieve the desired result. So let's do this first. Add this code in the Button Click Listener block:
binding.viewMain.setOnClickListener {

            val dialog = Dialog(this)

}
You have seen we have created a Dialog object with the context of ' this '. Now we need to inflate & attach our Custom Dialog Layout in Dialog. Again as we know every layout has its own generated class if we are using ViewBinding and we need to instantiate it to inflate the layout. Let's do this then, we are completely aware of this process by now.
binding.viewMain.setOnClickListener {

            val dialog = Dialog(this)
            val customDialogLayoutBinding:CustomDialogLayoutBinding = CustomDialogLayoutBinding.inflate(layoutInflater)
           dialog.setContentView(customDialogLayoutBinding.root)

}
We are attaching Custom Dialog Layout to Dialog object using setContentView. So by now, we have created a Dialog object and attached our layout to it. Last thing we need to do is to call the show() method on the Dialog object. Otherwise, it will not show what we have done till now. So better call show() method on dialog ;)
binding.viewMain.setOnClickListener {

            val dialog = Dialog(this)
            val customDialogLayoutBinding:CustomDialogLayoutBinding = CustomDialogLayoutBinding.inflate(layoutInflater)
            dialog.setContentView(customDialogLayoutBinding.root)
            dialog.show()
        }
Complete code in MainActivity should look like this:
class MainActivity : AppCompatActivity() {
    override fun onCreate(savedInstanceState: Bundle?) {
        super.onCreate(savedInstanceState)

        var binding:ActivityMainBinding = ActivityMainBinding.inflate(layoutInflater)
        setContentView(binding.root)

        binding.viewMain.setOnClickListener {

            val dialog = Dialog(this)
            val customDialogLayoutBinding:CustomDialogLayoutBinding = CustomDialogLayoutBinding.inflate(layoutInflater)
            dialog.setContentView(customDialogLayoutBinding.root)
            dialog.show()
        }
    }
}
This way we have learned how to implement and show Custom Dialog Box in Android programmatically.
You can go through the Github repository to see complete code and implementation. Github repository - github.com/abhas1102/CustomDialogImplementa..
Thanks!